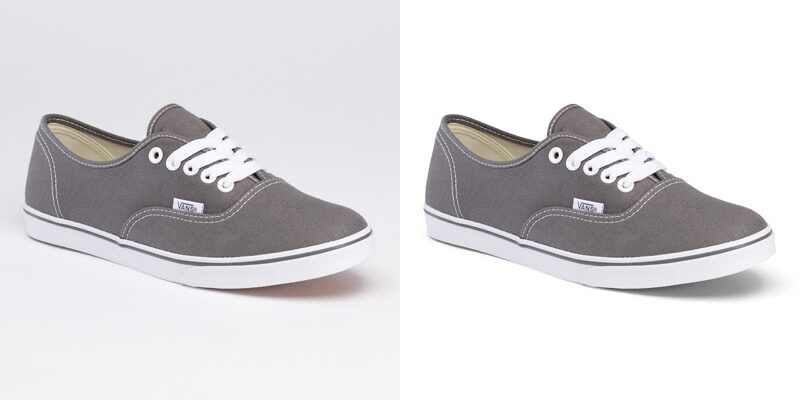
Creating product photo is not easy. It’s complicated if you don’t know what you are doing, even with the simplest cameras or smartphones that can do it automatically. The main reason is that taking good pictures of products requires that no flaws be visible in your images. These all distract viewers from considering your product seriously, whether it is a speck of dust, dirt spots on freshly polished shoes, wrinkle on clothes, or dark shadows under the eyes.
Remember – there will always be people who’d magnify every little defect or blemish to discard your product or service without giving it a second look. To avoid this scenario, despite having less-than-perfect equipment at hand, here are some tips and tricks to help you prepare an extraordinary product photos for eCommerce store.
1. Get the lighting right:
Nothing can ruin your professional product pictures more than poor lighting. People will notice every little mistake, and the quality of your image depends on its lighting and shadows to a great extent. So it is very important that you get rid of any harsh or extremely bright light source that ruins the overall look and feel of your image and disturbs shadow formation on objects in the picture.
2. Use macro lenses:
To make those small products look bigger and better, use good-quality macro (closeup) lenses. They provide detailed images with excellent focus to highlight subtle details like texture, gradients, etc. These are lost in regular shots due to their subject matter.
3. Go wide:
For photographing products in an organized and well-structured manner, use a studio backdrop and go wide enough to cover your entire product.
4. Be conscious of the background:
The background is very important for identifying any object or product; if it does not support or complement your subject, you should get rid of it altogether. If you cannot remove the background from the image within a few clicks, choose one that complements your main focus area instead of contrasting it. That would help viewers concentrate on what you want them to see – the product itself.
5. Save images at high resolution:
It is a standard practice for designers to send clients low-resolution pictures to reduce their email size. But keep in mind, if you want product photo editing service to be good quality and ready for print, you must save them at high resolution.
6. Always shoot on a tripod:
A steady hand is the most important requirement to take clear pictures; however, this cannot compensate for camera shake, which becomes extremely prominent when shutter speed drops. So always use a tripod or some sort of stand during your picture-taking process as it keeps your camera fixed without moving it an inch. This way, every shot will come out sharp and clear with no blur whatsoever, even if taken in low light conditions.
7. Take enough shots:
Remember that practice makes perfect; constant practice would enable you to understand the minute details like color, lighting, etc., making or breaking your entire picture. So take as many pictures as possible before finally deciding on one which you feel best represents your product.
Final Word:
Several other points play a significant role in developing great product photo. Still, if these seven steps are followed carefully. You will have the perfect picture of every single product that will eventually help you sell them better. Remember not to overlook any detail and ensure proper lighting for pictures. Because it’s important for making clear images to attract potential customers to your products.

